Food Photography Equipment: A Shot-by-Shot Kit Guide
Build a food photography kit around hero plates, flat lays, drinks, and campaign outputs—not an expensive list of disconnected gear.
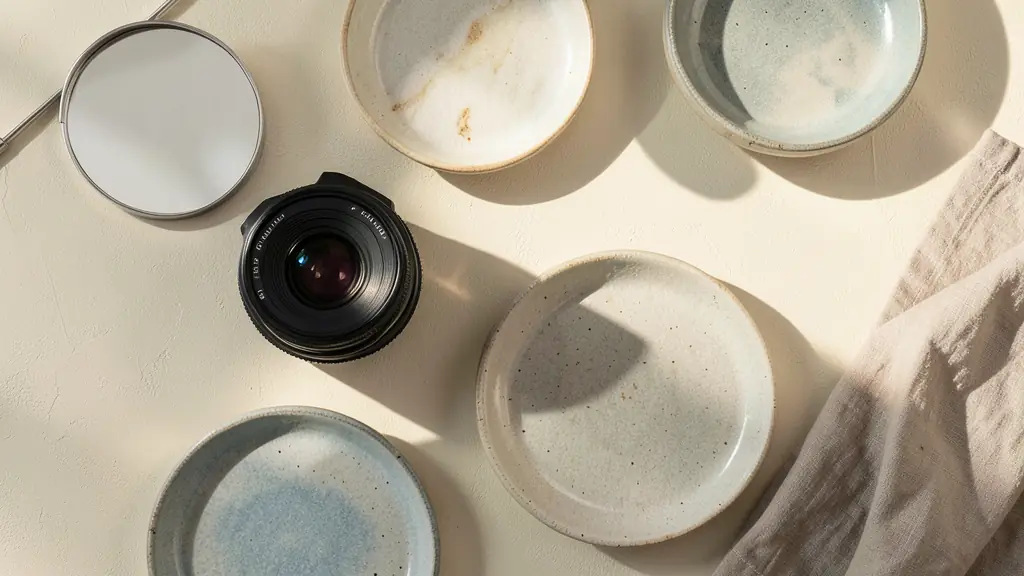
Prioritize the lens, one large diffused light source, a reflector, and stable support before upgrading the camera body. A smartphone can handle controlled social content, while commercial deliverables benefit from interchangeable lenses, RAW capture, flash synchronization, and tethering. Since the ideal lens depends on sensor size, working distance, composition, and final placement, identify the three frames your brand produces most often before buying anything.
No time to read?
- For broad versatility, begin with a normal-range prime or macro; choose a 90–105mm full-frame macro equivalent when close detail and comfortable working distance dominate.
- A smartphone is viable for controlled social and delivery content, but interchangeable-lens cameras provide stronger optical, tethering, flash, and large-output control.
- The most practical beginner lighting kit is one large diffused continuous source, a reflector, and black cards for shaping contrast.
- A safe flat-lay setup requires rigid overhead support, a secure mount, counterweight or sandbags, remote capture, clamps, a level, and a clean background.
Build the Kit Around the Frame, Not the Camera Body
The value of food photography equipment is not measured by specification prestige. It is measured by how reliably the kit produces sharp, appetizing, correctly framed assets for menus, campaigns, delivery platforms, and social channels.
Start with the final image. A glossy cocktail needs different control than an overhead table spread, even when both are photographed in the same studio.
| Frame | Minimum useful lens | Lighting requirement | Support | Styling and grip priority |
|---|---|---|---|---|
| Hero plate | Normal-range prime lens or macro lens | Large diffused source, reflector, negative fill | Stable tripod or camera stand | Tweezers, brushes, atomizer, black and white cards |
| Macro detail | True macro lens | Diffused side or backlight with precise flags | Rigid tripod, remote release, tethering when available | Pipette, fine tweezers, cotton swabs |
| Flat lay | Normal or moderately wide lens with controlled distortion | Broad, even diffusion with optional directional fill | Overhead rig, counterweight, level, remote release | Clamps, tape, background support, restrained props |
| Beverage | Normal-range or longer macro lens | Backlight, diffusion, narrow highlights, black cards | Tripod with repeatable framing | Gloves, atomizer, pipette, wipes |
| Environmental restaurant scene | Standard zoom or carefully used wide lens | Available light supported by controlled LED or flash | Tripod or stable handheld configuration | Flags, compact reflector, surface and scene preparation |
This frame-first method also resolves the search for the best lens for food photography. The answer is not a universally superior optic. It is the lens that delivers the required perspective from the working distance available, while leaving room for lighting, styling, and service operations.
A practical buying order is lens, light control, support, styling tools, and then camera body. Change that order only when a documented failure points elsewhere. If every plate is sharp but inconsistent light makes a menu look fragmented, another lens will not solve the commercial problem. If overhead compositions drift between takes, secure rigging creates more value than a newer sensor.
Judge every purchase by repeatability and asset yield. The strongest kit produces multiple usable crops, maintains a coherent visual language, and reduces corrective work during production and post-processing.
A Smartphone Is Capable, Until the Assignment Demands More Control
A modern smartphone can produce persuasive social posts and delivery thumbnails when the light, composition, color, and subject are controlled. It is fast, discreet, and well suited to content that will be viewed primarily on smaller screens.
Its limitations become more visible when an assignment requires a consistent lens perspective, controlled depth of field, extensive color correction, flash, tethered review, or files intended for larger campaign placements. A mirrorless camera or DSLR provides interchangeable optics, stable manual settings, RAW latitude, dependable flash synchronization, and a direct path to reviewing images on a larger display. These capabilities protect consistency across an entire menu rather than improving only one fortunate frame.
Sensor size matters because it affects lens behavior, framing, depth of field, and the way fine texture is rendered. A larger sensor can make shallow focus easier to achieve at an equivalent composition, but shallow focus is not automatically desirable. Commercial food imagery often needs enough sharpness to carry attention from the garnish into the primary ingredients.
Resolution should be judged against final placement. Cropping a horizontal hero frame into a vertical social asset demands more file flexibility than publishing the original composition at a modest display size. No unsupported megapixel threshold can define every campaign, particularly when viewing distance, retouching, crop severity, and output medium differ.
Invest in food photography lighting equipment before replacing a capable camera simply to gain prestige. Better light can reveal crust, condensation, translucency, and sauce texture regardless of the capture device. When a dedicated body is justified, evaluate the DSLR features that matter for food photography against the actual production workflow.
Choose the Lens by Perspective, Working Distance, and Detail
Lens selection begins with perspective. Perspective is controlled by camera position, while focal length determines the framing available from that position. A lens that forces the camera too close can exaggerate the near edge of a plate. One that requires excessive distance may be unusable in a compact kitchen or crowded dining room.
A normal-range prime lens is a strong general-purpose choice for plates, tabletop arrangements, and moderately styled scenes. It often provides a natural relationship between foreground and background while keeping the kit compact. A standard zoom adds framing flexibility when the camera position cannot change, although size, minimum focusing distance, and maximum aperture vary by model.
A true macro lens is defined by its close-focusing capability and reproduction ratio, not merely by sharpness or marketing language. Reproduction ratio describes how large the subject is recorded on the sensor. This matters when photographing salt crystals, bubbles, citrus oils, crumb structure, or the edge of a precisely plated garnish.
On a full-frame camera, a roughly 90 to 105mm macro is particularly useful for compressed hero details. Its longer working distance leaves more room for flags, reflectors, and styling adjustments while keeping the camera away from reflective glassware or hot food. It can also create elegant background separation. The tradeoff is the greater shooting distance required for a full plate or broader table scene.
Wider focal lengths belong in the kit when context is the product. They can show the bar, open kitchen, dining room, or architecture around a dish. Care is essential near the frame edges, where plates, glasses, and furniture can appear stretched. Keep critical products away from distortion-prone areas and preserve deliberate vertical alignment.
Crop factor changes the field of view delivered by a lens, so the same focal length does not produce identical framing across sensor formats. Minimum focusing distance also determines whether the lens can physically achieve the intended close composition. These variables explain why no single optic is best for every kitchen, sensor, or flat lay photography setup.
Begin With One Large, Soft, Controllable Light
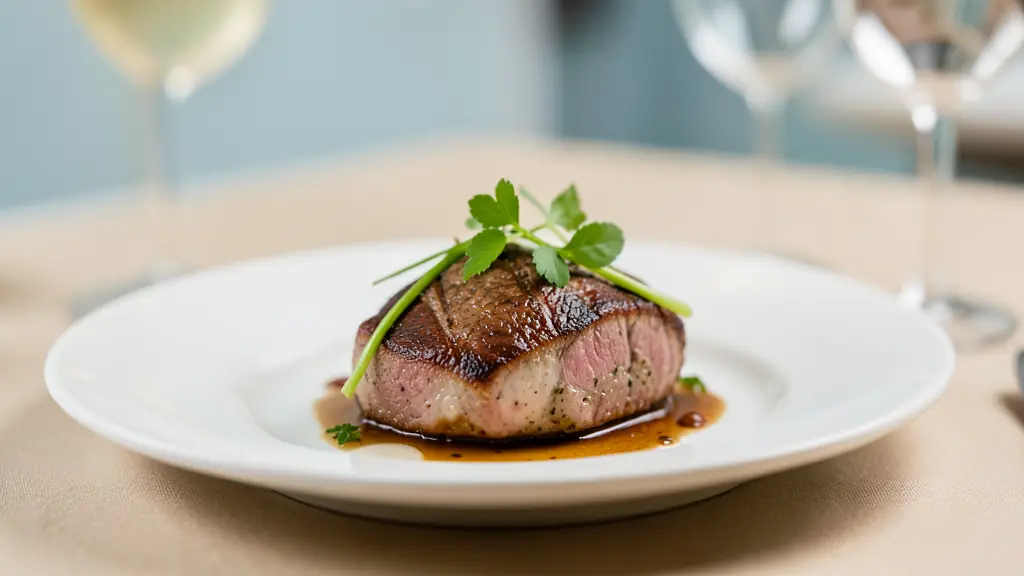
The most approachable controlled setup is one large diffused continuous light paired with a reflector. It allows the photographer and stylist to evaluate shadow density, highlight placement, and surface texture in real time. Move the source closer for a broader, softer transition, then use the reflector to open shadows without erasing shape.
Window light can be beautiful, but its intensity, direction, and color may change during a production. It works best when the schedule can accommodate those changes or when diffusion and flags are available to manage them. Continuous LEDs provide immediate visual feedback and make it easier to coordinate stills with short-form video. Flash offers stronger motion control and substantial output, but its effect must be judged through test frames, modeling lights, or tethered review. It also adds a steeper technical layer involving power, triggering, and synchronization.
A softbox combines a light source with an enclosure and diffusion surface. A diffusion frame is separate from the source, allowing the photographer to change the distance between lamp, diffusion, and subject. That separation can create a larger apparent source, refine gradients on reflective objects, and provide more freedom when building a set.
Avoid treating softness as the only objective. Direction creates appetite. Side light defines the layers of pastry and the ridges of seared protein. Backlight makes herbs, citrus, steam, and translucent beverages feel luminous. Negative fill, usually introduced with a black card or fabric, deepens one side of the scene and restores contrast when surrounding walls scatter too much light. Flags keep highlights away from distracting surfaces or carve a precise shadow.
For beverage sparkle, place the main source behind or slightly to the side of the glass, then shape its reflection with diffusion and narrow white cards. Black cards can define the edges of clear glass, while a controlled highlight communicates polish and coldness. A frontal ring light is rarely the first choice because uniform illumination around the lens can flatten texture and create inflexible reflections on glassware.
Keep frequently used food styling tools beside the lighting station. Moving a reflector, adjusting a garnish, and cleaning a glass are interconnected actions when every surface responds visibly to the light.
Flat Lays Depend on Rigging Before They Depend on Styling
An overhead image succeeds only when the camera is secure, aligned, and repeatable. Build the support system before arranging the first plate.
A working flat-lay kit includes:
- A rigid tripod with a lateral arm, or a rated overhead stand
- A secure mount compatible with the camera and lens load
- An appropriate counterweight or sandbags
- A remote release or tethered capture system
- A spirit level for camera and surface alignment
- Clamps for backgrounds, diffusion, and lightweight props
- A stable background support
- Floor protection beneath stands, weights, and the food surface
Never assume that an arm or stand can safely carry a food photography camera simply because the mount fits. Confirm the rated load, account for the lens and accessories, tighten every connection, and place weight so the system cannot tip into the set. Keep people and service traffic outside the fall zone.
Align the sensor plane parallel to the shooting surface. Poor alignment can leave one edge softer than the other even when the central subject appears sharp. Aperture can extend depth of field, but it cannot fully correct a tilted camera or uneven table. Tethered review makes edge-to-edge sharpness, alignment, accidental reflections, and small styling errors easier to identify.
Preview the intended crop zones before styling. A menu banner, square delivery thumbnail, and vertical social frame may all come from the same arrangement. Protect key dishes from interface overlays and frame edges, while leaving intentional negative space for flexible placement.
The Styling and Grip Kit Makes Precision Repeatable
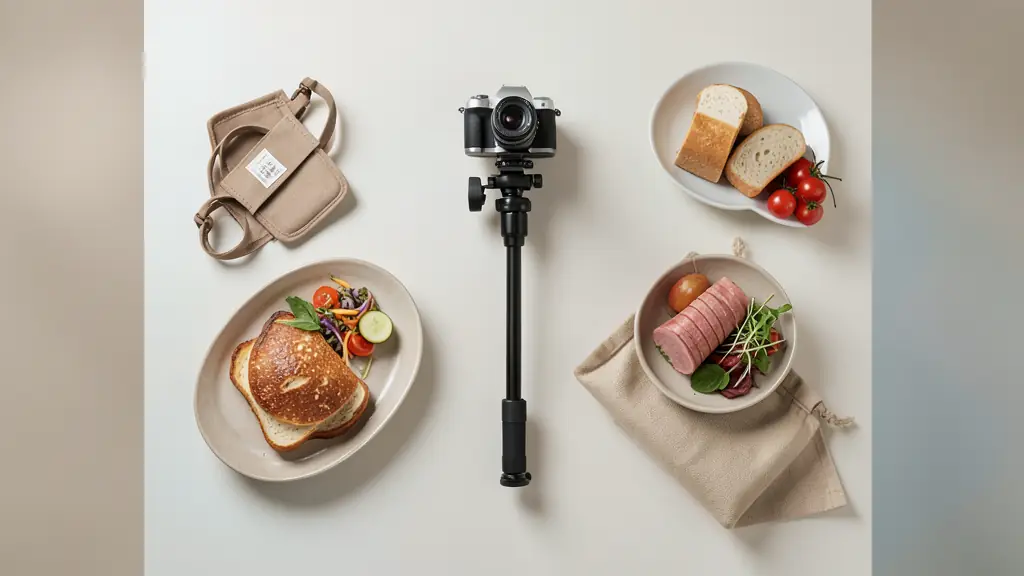
A styling kit should shorten corrections and preserve continuity. Organize tools by the problem they solve rather than collecting props without a defined function.
- Placement tools: fine tweezers position herbs and crumbs, palette knives adjust sauces and soft ingredients, and small brushes remove debris or refine edges.
- Freshness tools: pipettes place controlled droplets, atomizers create a fine surface mist, and cotton swabs clean narrow rims or absorb excess liquid.
- Surface protection: gloves prevent fingerprints, while lint-free wipes keep plates, cutlery, bottles, and glassware clean under unforgiving light.
- Grip supplies: clamps and tape secure backgrounds, linens, flags, cables, and small set elements. Select tape appropriate to the surface and test it before use.
- Light control: reflectors lift selected shadows, black cards add negative fill, and diffusion moderates hard highlights.
- Backgrounds and textiles: matte surfaces reduce uncontrolled glare. Linens should support the palette and sense of place without competing with the food.
- Props: restrained tableware, utensils, ingredients, and vessels can add scale or narrative, but each item must strengthen the frame.
Color contrast should be intentional. A cool, muted surface can emphasize the warmth of roasted food, while a dark card can give pale ingredients stronger separation. Styling choices also affect speed. When every tool has a defined place, sauce marks, fingerprints, wilted garnish, and shifting props can be corrected before they compromise additional frames.
Some display-only treatments may make food unsuitable to serve. Separate presentation samples from guest orders, communicate clearly with the culinary team, and never return treated food to service.
Three Production Kits Cover Most Commercial Food Assignments
Most restaurant productions can be covered by shared essentials plus a small set of frame-specific additions. Build a dependable core, then expand only where the assignment creates a visible constraint.
Shared essentials
- A smartphone, mirrorless camera, or DSLR appropriate to the output
- A versatile prime lens, macro lens, or standard zoom
- A large controllable light source with diffusion
- A reflector, black cards, flags, and clamps
- Stable camera support and remote release
- Color-consistent matte backgrounds
- Cleaning, placement, and freshness tools
- Spare power, storage, and tethering components where supported
Controlled-light menu kit
This kit prioritizes consistency across plates, categories, and production days.
- Camera with manual exposure and RAW capture
- Normal-range prime or macro lens
- Large continuous LED or flash with a softbox
- Reflector and negative fill
- Tripod or camera stand
- Tethered review system
- Neutral and brand-aligned surfaces
- Core styling and cleaning tools
Choose continuous light when immediate evaluation or hybrid video production is central to the assignment. Choose flash when output and motion control are the limiting factors. A second light is not automatically the next purchase. Flags, diffusion, and reflectors often provide more precise control over a single source.
Overhead content kit
This configuration supports flat lays, ingredient arrangements, menu groupings, and adaptable social crops.
- Rated overhead rig or rigid tripod with lateral arm
- Secure mount, counterweight, and sandbags
- Spirit level and remote capture
- Lens that covers the table without forcing excessive height
- Broad diffusion and directional fill
- Background support, clamps, tape, and floor protection
- Tethered preview with crop guides
- Modular surfaces and restrained props
Rent a specialized overhead system when occasional productions require greater height, load capacity, or set coverage than the studio can safely support. Permanent rigging makes sense only when the production volume and available space justify it.
Beverage-and-detail kit
This kit is designed for glass definition, condensation, garnish precision, bubbles, and tight ingredient texture.
- True macro lens, with a longer macro option for compressed detail
- Continuous light or strobe with diffusion
- Narrow white cards for highlights
- Black cards for edge definition
- Backlighting capability
- Rigid tripod and remote release
- Pipettes, atomizers, gloves, wipes, brushes, and tweezers
Specialized macro lenses and strobes should be rented or tested before purchase when their use is assignment-specific. The correct specification depends on studio dimensions, output requirements, working distance, and production volume.
Audit recent images before making the next investment. Sort the failures into perspective, light control, sharpness, and styling. Then identify which weakness causes the greatest commercial damage, whether that means distorted plates, inconsistent menu color, missed focus, dull beverages, or slow on-set corrections. Buy the tool that removes that bottleneck. For specialized lenses, strobes, and overhead systems, renting or testing first turns an expensive assumption into a deliberate production decision.
Envie d'aller plus loin ?
Laisse ton email, on te prévient dès qu'un nouvel article sort.