Food Styling: A Camera-Ready Workflow That Sells
Learn how professionals plan, prepare, plate, preserve, and refine camera-ready food for commercial, editorial, restaurant, and social imagery.
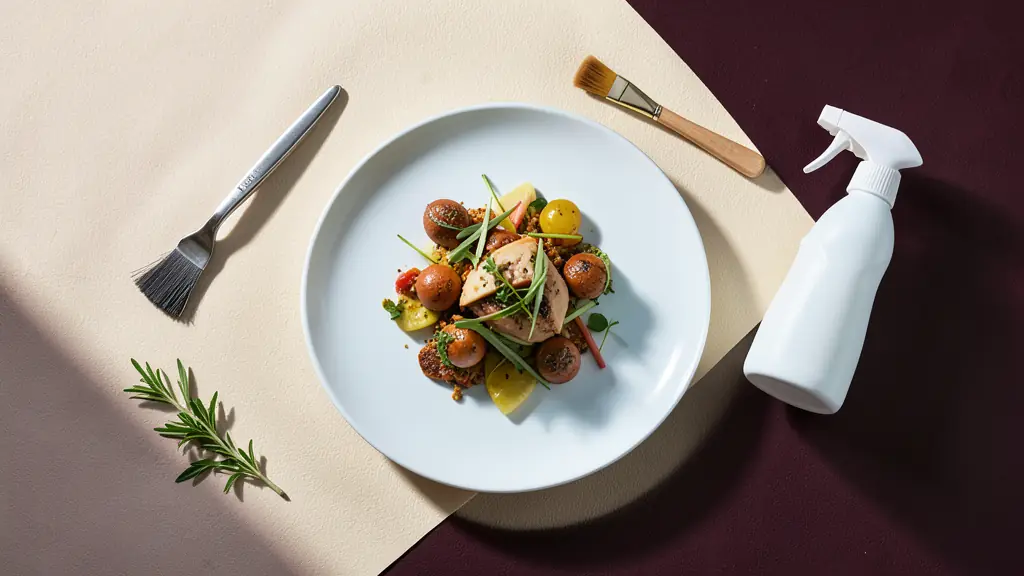
Food styling prepares and arranges food specifically for the camera, turning flavor, craftsmanship, and value into visible evidence. It is both a sales discipline and a form of visual storytelling: choose the publishing channel and hero ingredient before cooking, then build every decision around what the image must communicate. Techniques vary by dish, and any display-only treatment must be identified clearly because altered food may no longer be safe to serve.
No time to read?
- Define the channel, camera angle, and hero ingredient before cooking or plating.
- Prepare components separately so their color, texture, and identity remain visible.
- Keep fragile finishes off the dish until the camera, lighting, and set are ready.
- Treat color, props, surfaces, and light as business tools that shape appetite and perceived value.
Food Styling Changes the Cooking Goal
A meal cooked for immediate consumption is judged by aroma, temperature, tenderness, seasoning, and the pleasure of eating it. A camera cannot experience any of those qualities. It rewards recognizable ingredients, controlled texture, deliberate color, dimensional composition, and visual freshness.
Food styling translates sensory qualities into photographic signals. A glossy sauce suggests richness. Crisp green herbs imply freshness. A cut surface reveals moisture and internal texture. Visible char communicates heat, while carefully placed seeds or cracked pepper provide scale and contrast. These signals make the intended flavor legible before the first bite.
That changes the cooking goal. Vegetables may need to retain more structure and color than they would for service. Sauce may be applied selectively rather than poured over the entire plate. A topping that tastes generous can obscure the very ingredients that justify a premium price.
Effective food styling techniques are not decorative tricks added after cooking. They shape ingredient selection, preparation, assembly, plating, lighting, and timing. For fine-dining restaurants, delivery menus, cookbooks, magazines, and social media campaigns, camera-ready presentation influences whether viewers recognize quality quickly enough to act. The image must explain what the dish is, why it is desirable, and where it belongs in the market.
Start With the Frame Before Preparing the Food
Preproduction prevents the kitchen from producing a beautiful dish that cannot satisfy the brief. Begin with the client objective: sell a specific menu item, introduce a seasonal identity, demonstrate craftsmanship, or create brand imagery for a broader campaign. Then define the channel, crop, camera angle, visual hierarchy, and intended emotional response.
A disciplined sequence should cover:
- Translate the business objective into one visual message.
- Confirm the intended channel, image orientation, crop variations, and space required for copy or interface elements.
- Conduct trend research across food trends, luxury hospitality, art, fashion, interiors, and culinary culture.
- Build a moodboard using multiple sources, including fabrics, table settings, food textures, brightness references, kitchen tools, and artistic references.
- Turn that visual research into a shot list with angle, framing, hero ingredients, props, backdrops, and required variations.
- Choose the principal camera angle before plating. Overhead, three-quarter, and table-level views expose different strengths and structural weaknesses.
- Calculate ingredient quantities for the finished plate, test plates, backups, and replacement garnishes.
- Source the freshest and most visually attractive ingredients in person whenever consistency matters.
- Plan transport, cold storage, holding containers, preparation order, and on-set timing.
- Build a test frame with an empty plate or stand-in food before committing the hero dish.
- Record continuity notes for ingredient positions, sauce levels, garnish count, glass fill, and camera orientation.
Role ownership should also be explicit. The food stylist controls the food’s appearance, preparation logic, and continuity. The photographer controls capture, lens choice, exposure, and lighting. The prop stylist manages surfaces, plates, cutlery, linens, and supporting objects. The art director protects the brand concept and decides whether every visual element serves it.
On a smaller commercial shoot, one person may cover several roles, but the responsibilities do not disappear. A content creator working alone still needs a defined brief, a shot list, and the right food styling tools ready before perishable ingredients enter the set.
Select and Hold Ingredients at Their Visual Peak
Ingredient selection is the first act of styling. Choose produce with strong color, intact surfaces, consistent scale, and enough structural integrity to survive handling. Uniformity supports polished commercial imagery, while irregularity should be intentional when the concept calls for rustic abundance, seasonal authenticity, or visible handcraft.
Build a complete mise en place before the hero plate is assembled. Sort ingredients by visual quality, prepare duplicates, and reserve the strongest examples for the camera-facing positions. Hold salad leaves and fresh herbs in bowls of cold water to preserve crispness, then drain and dry them carefully. Excess moisture can dilute dressing, create uncontrolled reflections, or weaken delicate leaves.
Good food photography styling limits the time food spends under studio lights. Keep sauces, dressings, cream, and other unstable finishes separate until the camera and lighting are ready. Maintain backups off set so a wilted garnish or collapsed component can be replaced without rebuilding the entire dish.
Visual priorities never cancel food-safety obligations. Maintain appropriate temperature control, identify allergens, prevent cross-contamination, and use clean tools and food-safe containers. Separate edible hero food from display-only versions physically and through clear labeling. If a plate receives non-edible support, questionable surface treatments, or prolonged exposure outside safe holding conditions, it should not return to service. Attractive food is not automatically safe food.
Cook Components for Recognition, Then Assemble
A recipe cooked conventionally in one vessel can taste coherent while appearing visually muddy. Ingredients absorb the same sauce, colors converge, edges soften, and the camera loses the distinctions that explain the dish. Styling solves this by treating cooking and final assembly as separate production stages.
For a chicken curry, begin by poaching the chicken so it remains plump and visually juicy. Cook the vegetables separately, steaming or roasting them to preserve their color, shape, and vibrancy. Prepare the sauce on its own, adjusting its consistency so it can coat selected surfaces without burying every component.
At assembly, position the chicken and vegetables to create an identifiable structure. Apply sauce with a spoon, pipette, or fine paint brush where it supports shine, color, and continuity. Leave strategic edges and cut surfaces visible. Add fresh herbs only after the plate has reached the set.
This workflow produces camera-ready food without misrepresenting the recipe’s fundamental ingredients. The dish still reads as curry, but chicken, vegetables, sauce, and herbs retain distinct visual identities. Recognition creates appetite because the viewer can anticipate contrasting textures and flavors rather than confronting one undifferentiated mass.
Plate a Flavor Story, Not a Dinner Portion
A camera does not require a standard dining portion. It requires enough food to communicate generosity, structure, and flavor without flattening the frame. Selective abundance is more persuasive than indiscriminate volume.
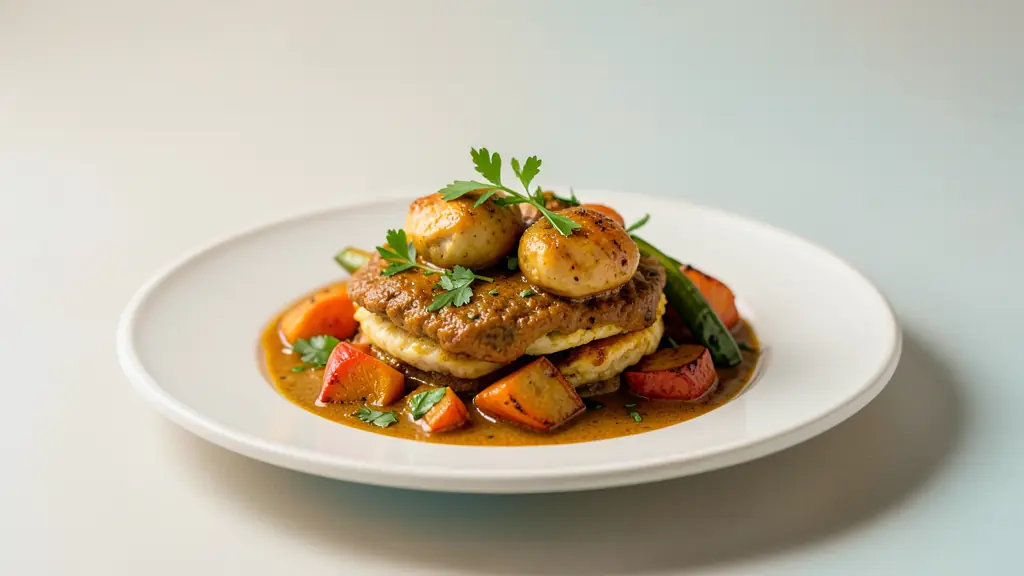
Begin with a stable base, then layer ingredients so the viewer can trace how the dish is built. Create height where it reveals texture, not simply to make the portion look larger. Use negative space to separate the focal food from the plate rim. Slight asymmetry often feels more dynamic than a centered mound, while directional lines from sliced protein, vegetables, or sauce can guide the eye toward the hero ingredient.
Expose important components rather than dividing them into disconnected compartments. Repeat key colors across the plate, reveal interior textures through one deliberate cut, and place extra hero ingredients where they clarify value. Control cheese and garnishes so they enhance rather than conceal the finished dish. White rice or another neutral component can form a visual frame, while contrasting cream, seeds, and green garnishes can give soup dimension.
Controlled sauce placement is one of the most valuable food stylist skills. Sauce should connect components, introduce sheen, and support the composition without erasing crisp edges. Before capture, inspect the plate from the chosen camera angle, not only from above. Elements that appear balanced at eye level may overlap or disappear through the lens.
Direct the Eye With Color, Props, Surfaces, and Light
Color theory determines separation, appetite, and brand character. Color psychology then shapes the emotional reading of that palette. Warm reds, oranges, and browns can emphasize heat and richness. Greens communicate freshness. Cool tones can make warm food appear more vivid when used with restraint.
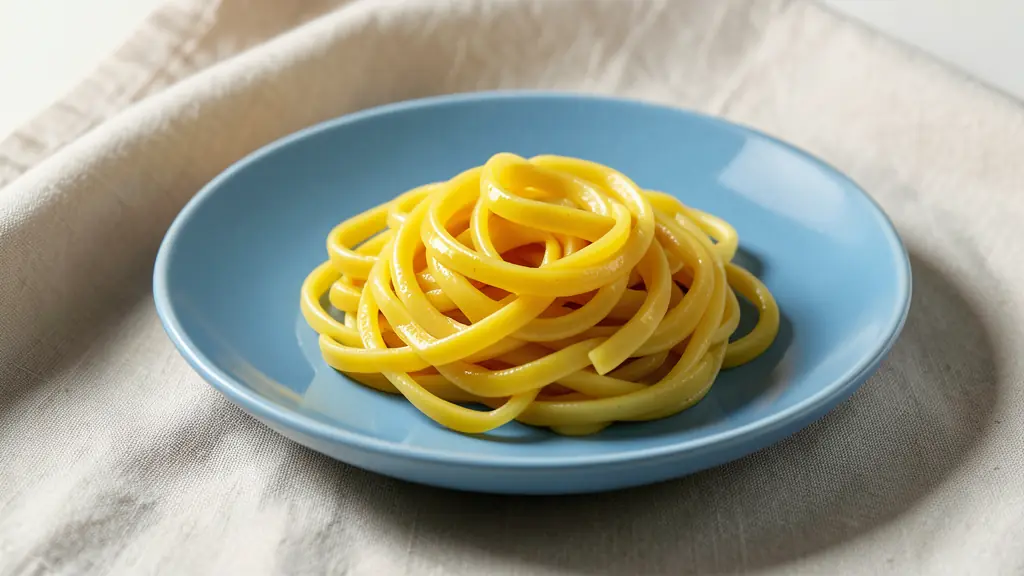
Contrast should serve the hero. A green salad gains energy against a controlled pink surface. Yellow pasta becomes more distinct against blue. Warm roasted food can feel especially inviting when framed by cooler fabrics or a restrained backdrop. Complementary combinations create impact, while closely related colors produce a quieter, more luxurious mood.
Plate scale matters as much as plate color. An oversized plate can make a premium portion look meager, while a crowded plate removes shape and negative space. Choose a rim that frames the food without interrupting directional lines. Fabrics, cutlery, glassware, and table decoration should establish context, but no prop should compete with the brightest color, sharpest texture, or highest contrast on the plate.
Treat the tablescape as set design rather than ornament. Every object should explain the location, occasion, or customer. A distressed surface may support editorial food styling, while polished stone, refined glassware, and disciplined spacing may better suit luxury hospitality. Art direction decides which vocabulary belongs to the brand.
Soft side lighting reveals ridges, crumbs, bubbles, and layered textures. Back lighting strengthens translucency, steam, condensation, and beverage sparkle. Diffusion broadens reflections, while flags subtract unwanted light to preserve shape and define glass edges. Use tethered test frames to evaluate sheen, highlights, color relationships, and the interaction between food and props on a larger screen. The goal is not merely correct exposure. It is a controlled path for the viewer’s attention.
Apply Fragile Details at the Shutter Moment
Fragile finishes have short visual lives. Apply them only after framing, focus, exposure, and major composition decisions are settled. A useful sequence begins with sauce and cream, followed by oil or dressing, then seeds, cracked black pepper, icing sugar, fresh herbs, condensation, and the most delicate garnishes.
Timing protects distinction. Salad dressing applied too early makes leaves collapse. Sauce can form a skin or lose its ideal texture. Icing sugar dissolves into moist surfaces. Herbs darken, and oil migrates beyond the area intended to catch light. Make one adjustment, inspect the tethered frame, and stop when the image communicates the intended freshness and flavor.
For persistent droplets on produce or packaging, a spray bottle containing a 50/50 mixture of water and glycerine can create moisture that lasts longer under lights. This is a display technique, not an automatic invitation to serve the treated item. Keep treated food separate, label it clearly, and never allow it to be mistaken for an edible plate unless every material and handling condition has been verified as food-safe.
The same principle applies to hidden supports and cosmetic corrections. Ethical styling can emphasize authentic qualities, but it should not conceal material facts about the product. The image may be aspirational without implying that altered, contaminated, or temperature-abused food remains safe to eat.
Build a Food Styling Kit for Precise Corrections
A useful kit is organized by task, allowing precise intervention without disturbing the surrounding composition.
- Placement: tweezers and skewers for positioning herbs, seeds, noodles, crumbs, and small hero ingredients.
- Cleanup: cotton buds, clean cloths, and absorbent paper for removing smears, crumbs, and unintended moisture.
- Surface finishing: fine paint brushes for applying vegetable oil, sauce, or water to controlled areas.
- Liquid control: pipettes or syringes for filling gaps, placing droplets, and adding sauce beneath or between components.
- Moisture: a fine spray bottle or spray nozzle bottle for refreshing surfaces and creating even coverage.
- Shaping: palette knives and spoons for smoothing purées, forming swirls, and refining edges.
- Trimming: clean scissors for cutting fresh herbs and correcting irregular garnish shapes.
- Structure: small wedges and supports for maintaining height, angle, and separation.
- Safe handling: gloves, labeled food-safe containers, and separate vessels for edible and display-only materials.
- Continuity: duplicate garnishes, backup components, reference photographs, and written placement notes.
The kit should support invisible corrections, not encourage endless manipulation. If the food has deteriorated, replace the component rather than repeatedly coating or reshaping it. Precision protects authenticity when it restores the visual qualities the dish had at its peak.
Practice, Diagnose, and Build Portfolio Range
Practice does not require access to a full restaurant kitchen. Ready-made meringue nests, cupcakes, pizza bases, packaged foods, and prepared components are legitimate subjects. They also reflect real commercial assignments, where a food stylist may need to make an existing product look consistent, appealing, and brand-appropriate rather than cook from scratch.
Use one subject to test multiple solutions:
- Restyle the dish from overhead, three-quarter, and table-level angles.
- Create distinct moods through color, light, props, plating, and backdrop choices.
- Photograph the plate before and after each correction.
- Record what changed, why it changed, and how long the improvement remained viable.
- Repeat the setup using continuity references rather than memory.
Diagnose the image systematically. Limp leaves indicate weak holding or premature dressing. Dried droplets reveal a timing or moisture problem. Muddy colors suggest ingredients were cooked or sauced together too early. Hidden ingredients call for layering, cutting, or a new camera angle. Excessive cheese or garnish may obscure the product. Overloaded props dilute the focal point. A dull, collapsing plate may simply have remained under lights too long.
Study strong reference sets, including previous Food Stylist Award finalists from the World Food Photography Awards, and identify specific decisions rather than copying surface aesthetics. Names such as Costas Millas can be logged within a broader reference library so inspiration remains attributable and organized.
A portfolio should contain only work that demonstrates intentional choices and repeatable control. Range comes from solving different visual problems, not from including every image produced. Show that you can move from polished commercial precision to atmospheric editorial work while retaining command of texture, composition, and freshness.
Adapt the Craft to the Publishing Channel
The same dish should not be styled identically for every destination. Channel requirements determine what must be visible, how quickly it must read, and how much narrative the frame can support.
Precise commercial product images prioritize consistency, packaging accuracy, repeatable angles, and clearly recognizable contents. Restaurant menus and delivery thumbnails need immediate comprehension at small sizes, controlled portions, and unmistakable hero ingredients. Here, conversion matters more than decorative complexity.
Magazine and cookbook images allow richer narrative. Editorial food styling can introduce movement, partial servings, utensils, crumbs, fabrics, and environmental context. Social media content must create instant visual impact while remaining flexible enough for multiple crops, sequences, and platform formats. Instagrammability is useful when it grows from a distinctive brand system rather than a temporary visual gimmick.
Luxury hospitality campaigns require a broader promise. Food, interiors, service objects, lighting, and human presence may need to communicate exclusivity as one coherent world. For fine-dining restaurants, the image should justify price positioning without making the experience feel sterile or inaccessible.
Professional development therefore extends beyond plating. It includes photography, color theory, color psychology, table decoration, set design, visual research, moodboards, art direction, content creation, shoot planning, assisting experience, and portfolio specialization. Formal culinary training is useful for understanding ingredients and kitchen systems, but it is not universally required.
Structured education is one option. An Istituto Marangoni short course is organized across Week 1 and Week 2. Its listed Dubai dates are December 7-18, 2026 and March 15-26, 2027, with a registration fee of AED 9,500 plus 5% VAT. Whether considering a course, assisting a food stylist, or developing through production work, evaluate the path by the practical control it builds.
Commercial competence also requires understanding budgets, usage, responsibilities, and deliverables. A guide to planning and licensing a commercial photography shoot can help align styling decisions with the wider production and business framework.
For the next assignment, style one dish three ways: a clean conversion-focused menu image, a narrative editorial frame, and a bold social composition. Document every adjustment to ingredients, plating, props, light, camera angle, and timing. Compare the resulting image set to identify technical gaps, expand portfolio range, or create a precise brief for a professional production.
Envie d'aller plus loin ?
Laisse ton email, on te prévient dès qu'un nouvel article sort.